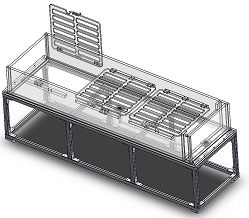
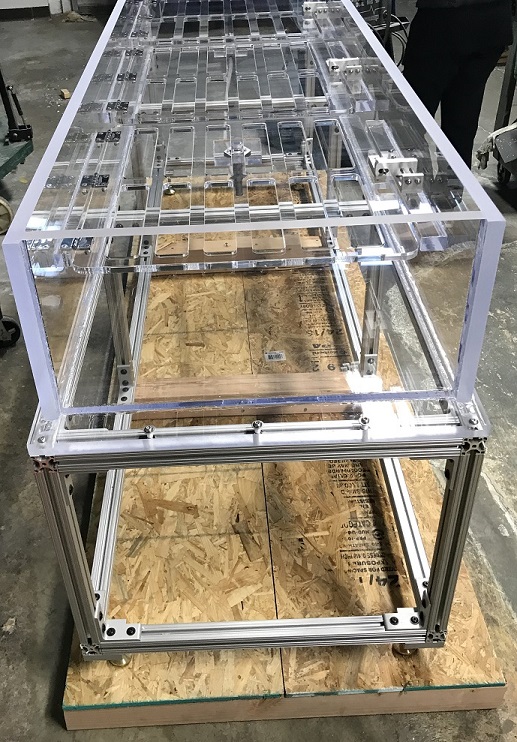
Internal Pressurization Bubble Testing System for ASTM F2096
How to Correctly Perform a Bubble Leak Test using Internal Specimen Pressurization (ASTM F2096)
Before you begin, it is advisable, but not necessary to plumb the drain valve of your tank into the main drain for reasons allowing you to empty the water out of the tank after use. To properly operate this System, the Drain Valve must be closed first. After the Drain valve has been closed, fill the Clear Acrylic Tank with water. Make sure that the water level reaches beyond the lids and that the bottom of these lids is fully submerged under a minimum of 1 inch (25.4mm) of water.
Keep in mind that the pressure can be applied to your specimen before it is submerged. However, in that case, it will be a bit more difficult to submerge it due to air presence in your specimen which will buoy your sample upwards.
While your sample is fully under water, and your set pressure is applied to your specimen, carefully observe the perimeter of your package, seal, etc… for bubble emission. You have to be focused and clinical with your observations because this test is subjective where not being fully observant during your test may negatively impact your final test results.
One way to increase the sensitivity of this test is to increase the pressure applied to your sample. However, excessive pressurization may damage your specimen and cause you to misinterpret your overall results.
As your sample is pressurized and expanded, thoroughly inspect one side of your package and specifically look for bubbles. How long you look for bubbles depends on your package type. After you have thoroughly inspected one side of your pouch specimen, rotate your pouch by 180 degrees and repeat looking for bubble emissions once again.
If your package is cube shaped, you may have to test all six sides of your package. An adequate test procedure and sampling method must be established in order to have the most accurate test reporting system. One way to establish a good test procedure is to create a leaking specimen (control sample or known leaker) and then bubble leak test your known leaker for detection confirmation.
Lastly, it is very important that you fully understand the advantages and limitations of your testing procedures. Your test sensitivity, which is defined by the probability to correctly detect a defect is 20%, 51%, 81%, and 95% for defect size of 50μm,125μm, 250μm, and 350μm respectively at a pressure of 5 inches of Water (0.2 PSI).
A more comprehensively written document by the ASTM which describes the process we talked about in a much more eloquent way is available for purchase by clicking on the link below:
If you are still reading this, then we would like to thank you for taking the time to read this write up all the way through. It took us quite some time to write this for you. Please don’t hesitate to contact us if you have any further questions, comments, or concerns regarding this article.
Cheers!