How do you test the seal of vacuum sealed packages?
If you are vacuum sealing your packages, you are faced with a challenge when it comes to seal testing. How do you know that your process is consistently creating a good seal? How can you be sure that the vacuum inside you package will hold for the required amount of time?
The lower the absolute pressure inside your package is, the less practical it becomes to perform a dry vacuum test or a dunk tank vacuum bubble leak test.
Here is why: In order for the bubble leak test to work, there has to be a pressure difference between the inside and the outside of the package. Placing the package under water simply helps you see the air travelling from higher pressure to a lower pressure if the seal is compromised. This is very similar to fixing a bicycle tire, if the bicycle tire is flat (lower pressure/vacuum) the air will not bubble.
Vacuum Package Test May still work
However, depending on the vacuum you are pulling when sealing your packages, you may be ok. If your package vacuum is anything less than -5psi (gauge vacuum), a Vacuum Bubble Leak Test will do ok. Keep in mind that as you start going toward a higher vacuum, anything past 12 - 13 psi (vacuum) and your water will start to boil and bubble and you will have a hard time differentiating between bubbles leaking out of your package and water bubbles due to boiling.
Internal Pressurization Bubble Leak Test
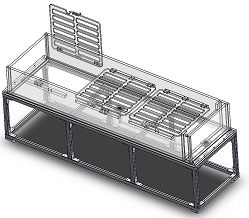
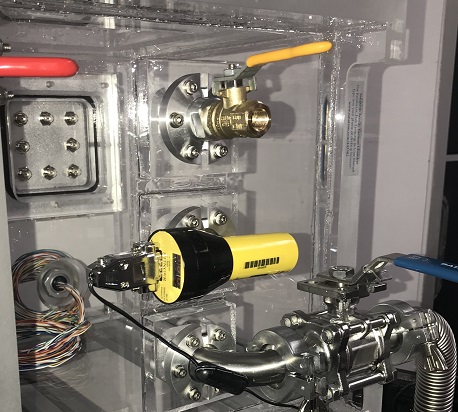
One of your options would be to go with an Internal Pressurization Seal Integrity Test. Meaning that you have to insert a pressure probe into your specimen and inflate it under water and then look for bubbles.
Dye Ingress Vacuum Seal Test
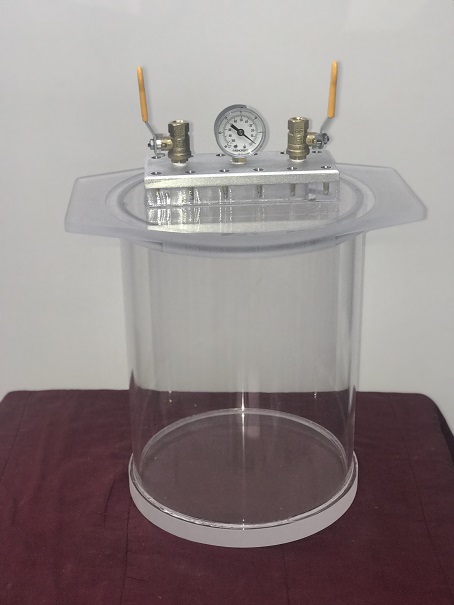
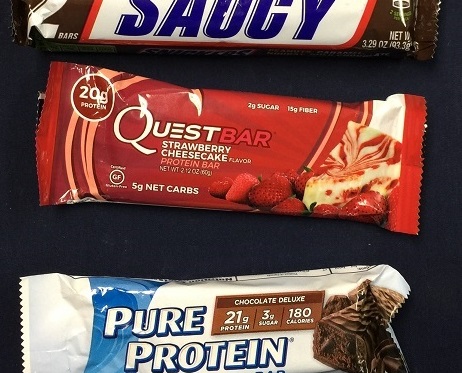
Yet another option would be to do a so called “dye ingress test” meaning that you fully submerge your specimen into a container filled with dye which is most commonly blue in color. This container is then placed inside your vacuum chamber. You then pull a vacuum, and let it sit somewhere between 30 seconds and 5 minutes. It is recommended to keep the vacuum pump and go to as low of a vacuum as practically achievable. Once your specified times has passed, release the vacuum and vent your vacuum chamber. If your seal has been compromised, you will notice the presence of blue dye inside your specimen. This test will work due to the fact that as you pull the vacuum the air will travel through the compromised seal and out of the package. After your specified time, you will have pull sufficient air out of the package. As you vent your chamber, you increase the pressure inside the vacuum chamber and hence increase the pressure of the dye. This pressurized dye will then travel through the seal cavity into your specimen. This blue dye has a lower surface tension meaning that it will penetrate better than water.
CO2 or Helium Leak Test of Packages
Yet a final test would be to purge or bomb your specimen with CO2 or Helium before sealing. Place your specimen inside a vacuum chamber, pull a full vacuum and look for CO2 or Helium. Depending on the leak, if there is one present, you will pick up on CO2 or Helium. This is also the most complex and expensive method.
In conclusion, you have the following 4 options testing vacuum sealing packages:
1. Vacuum Bubble Leak Test (if your vacuum is not high)
2. Internal pressurization Test
3. Dye Penetration or Dye Ingress
4. CO2 or Helium Test
We have many more resources on our website that you should check out
We make Robustly Designed and Quality Engineered Systems. Check out some of our other items we carry that you can combine/integrate with your systems or projects.